Process
From a fallen tree to a table that stays flat.
Most of what makes a live edge piece last happens before anyone picks up a sander. Here is the whole road.
Source
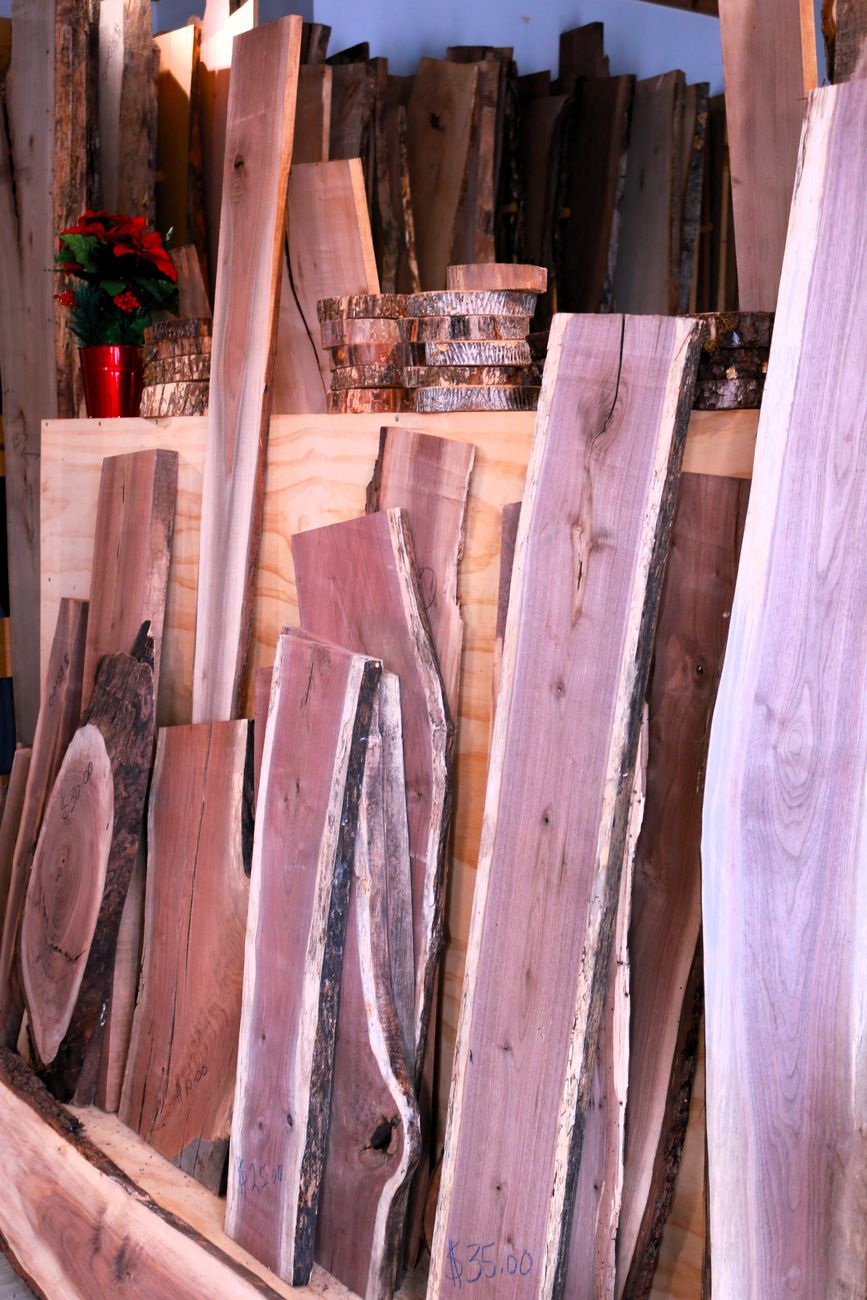
Nothing is logged for us. Our slabs come from urban removals, storm falls and orchards being cleared, all milled within a hundred kilometres of the shop. We buy whole logs when we can, so book-matched pairs stay together.
Dry
Green wood moves. Slabs sit stickered under cover for a year per inch of thickness, then finish in a dehumidification kiln until they hold steady at seven percent. It is the least glamorous step and the one that decides whether a table stays flat.
Flatten & fill
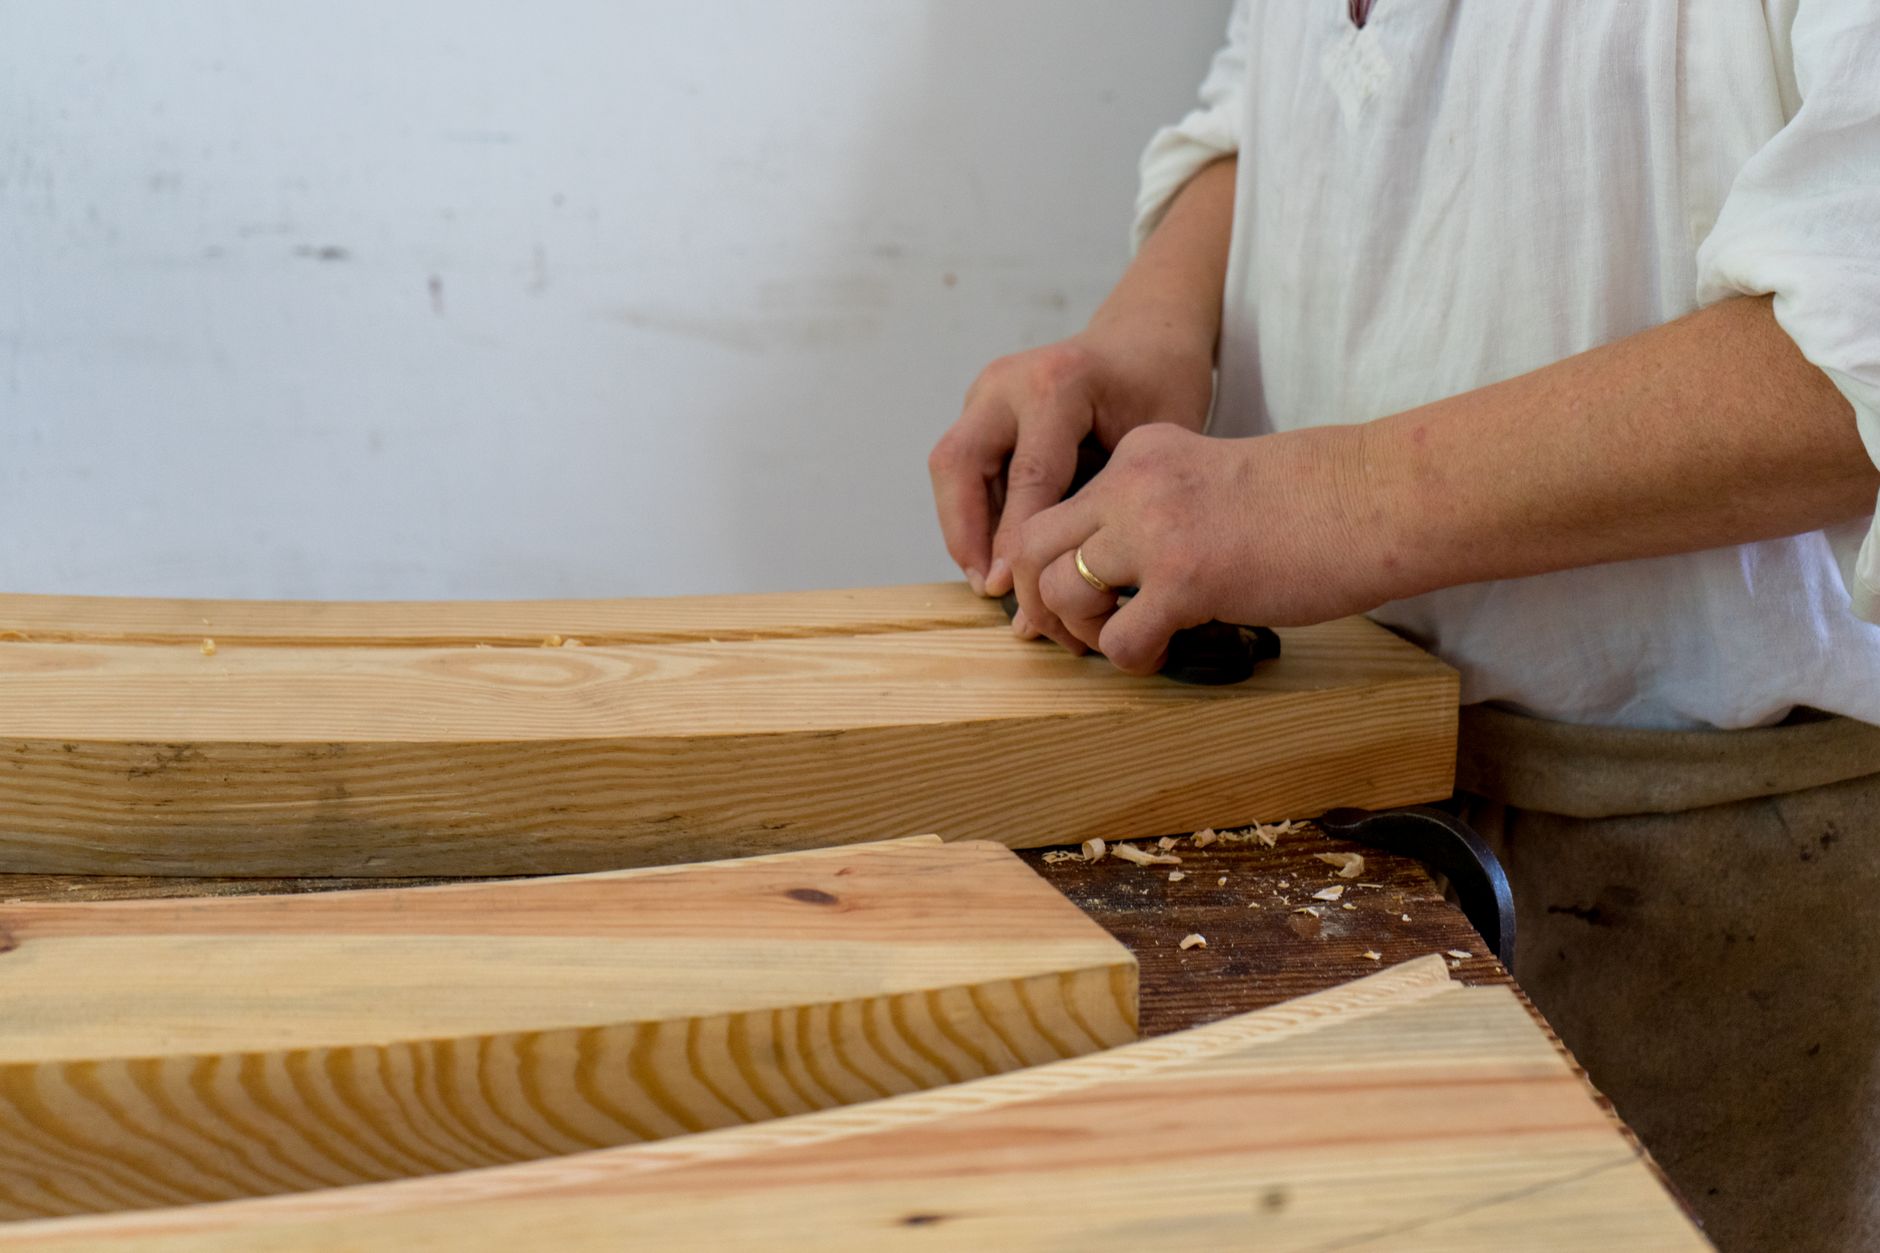
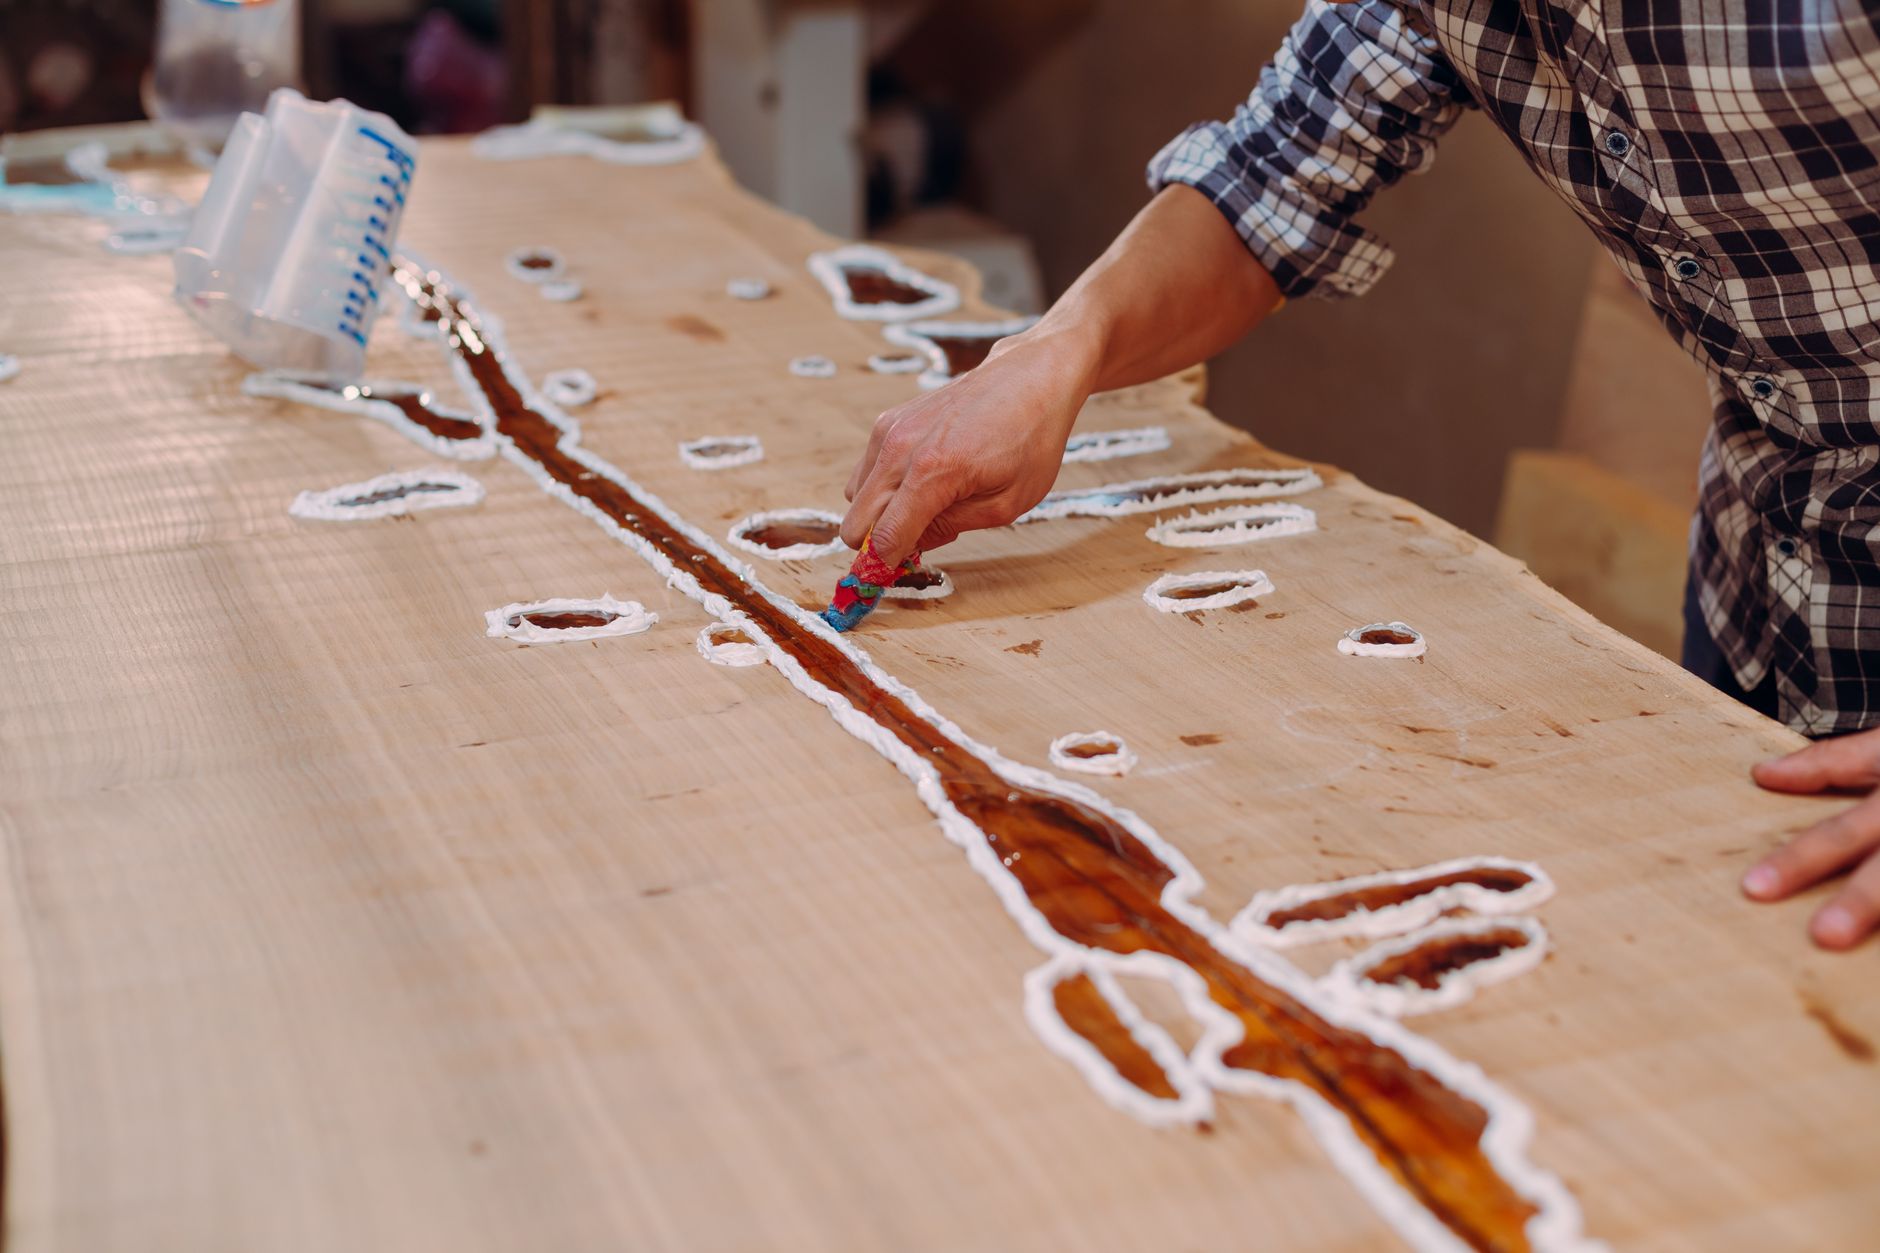
A router sled takes the slab flat, then hand planes take it smooth. Bark is peeled, the edge is wire-brushed, and voids are stabilised with tinted resin so they stay part of the story without catching crumbs.
Join & shape
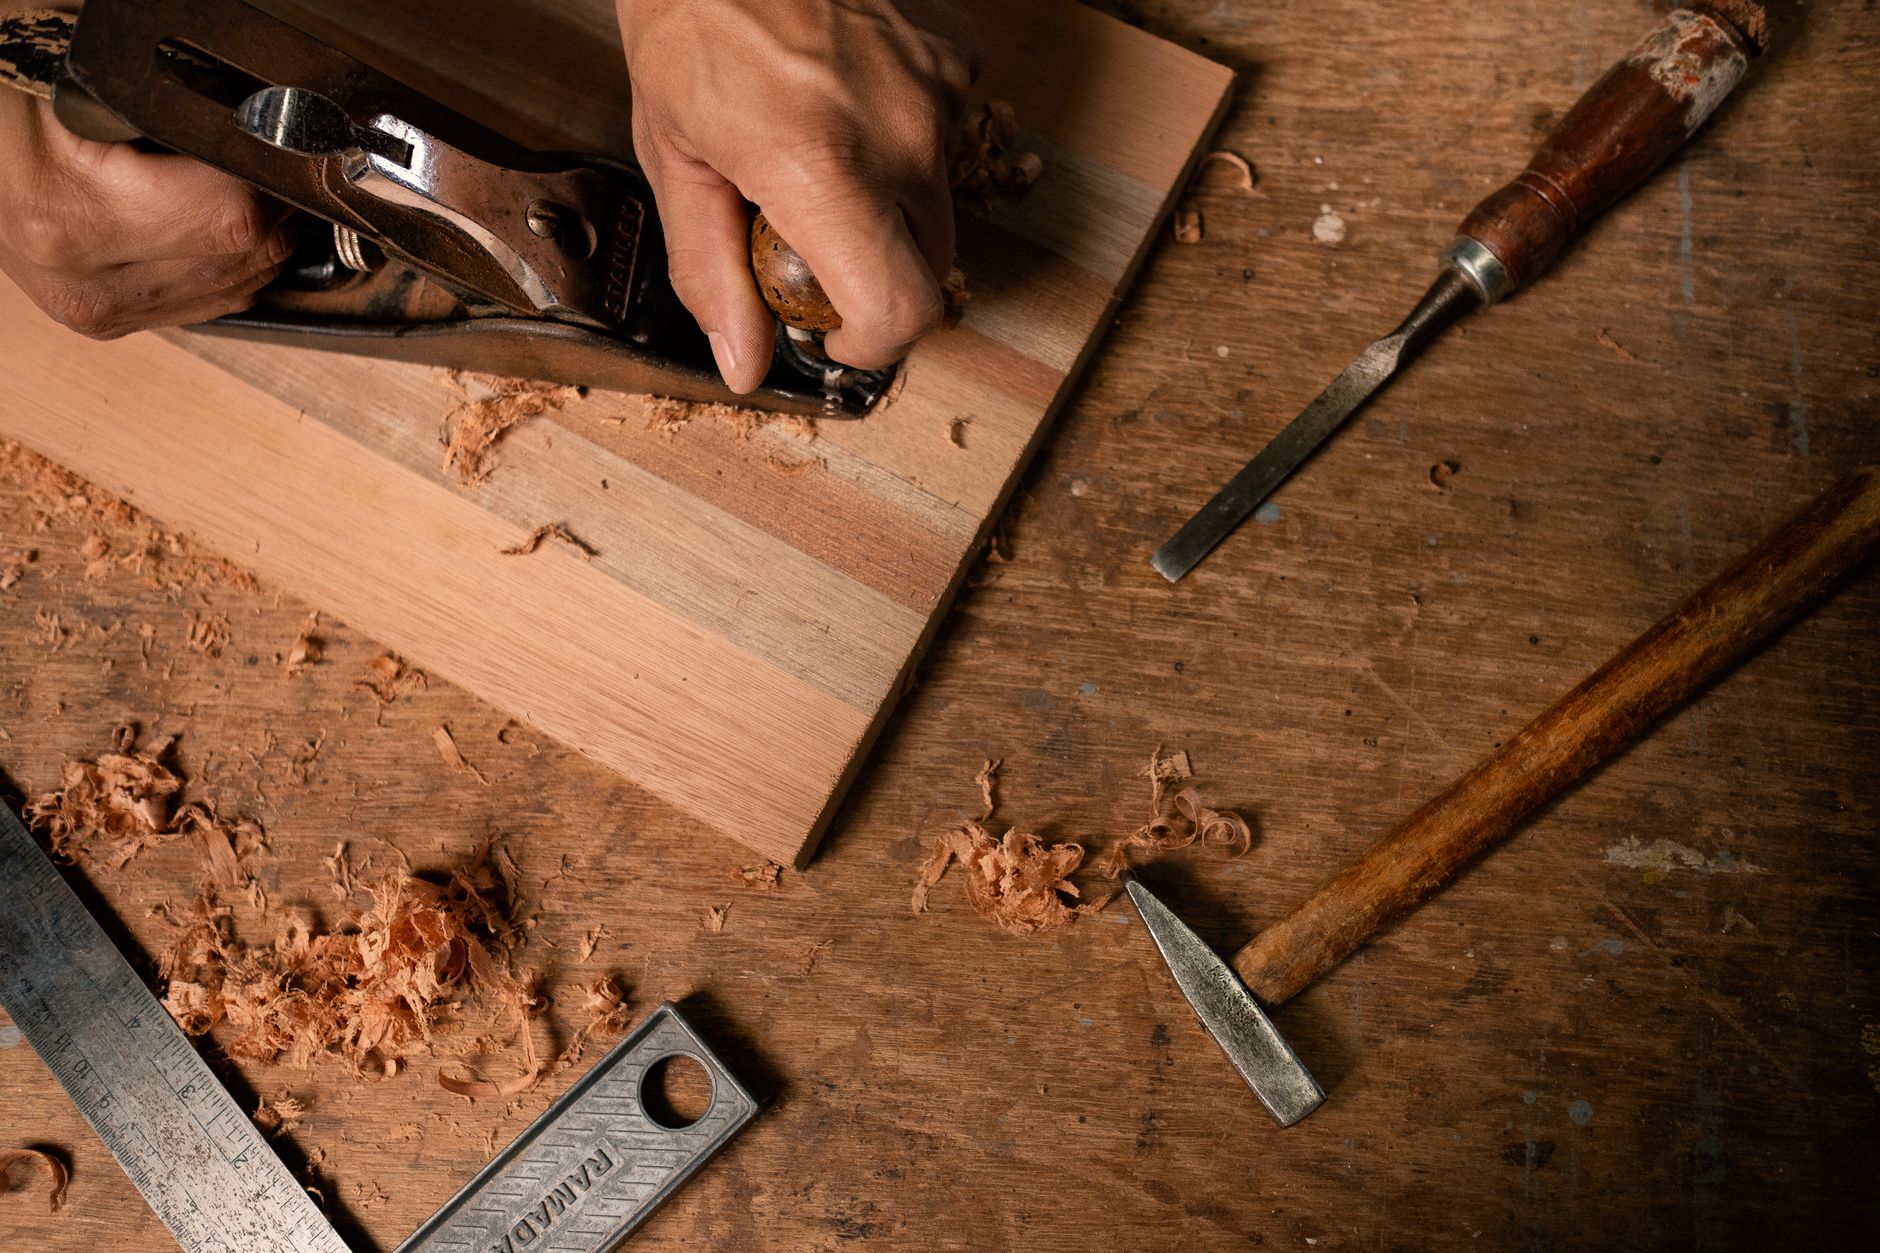
Breadboard ends, butterfly keys, through-tenons: the joinery is chosen for how the wood will move, not how it photographs. Seats and edges are shaped with adze, travisher and spokeshave.
Finish
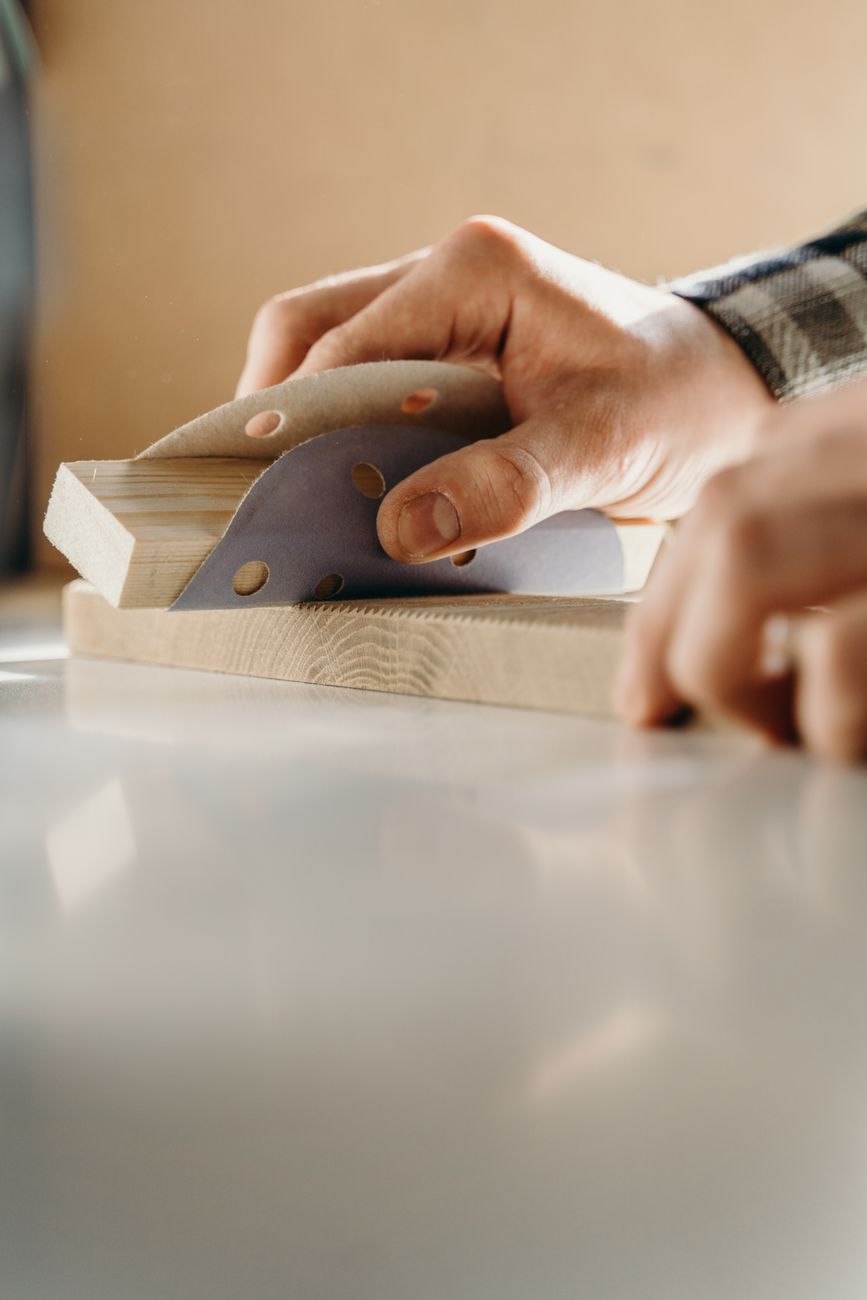
Sanded to 180, raised with water, sanded again. Three coats of hardwax oil, hand-rubbed, with a day between each. The finish is food-safe, matte, and repairable at your kitchen table with a rag.
Care
Wipe with a damp cloth. Re-oil once a year, or when water stops beading.
Movement
Solid wood breathes with the seasons. Expect a millimetre or two. That is the tree, not a fault.
Repair
Scratches sand out. Dents steam out. If something serious happens, bring it back and we will refinish it.